How Often Should You Flush Your Water Heater?
Let’s face it: replacing your water heater is expensive, and it’s a big job nobody wants to have to do themselves. Naturally, this means you want to take care of your water heater and ensure it’ll last as long as possible while working as well as it can. Maintaining a water heater is fairly simple, and in fact there’s really only one thing you need to do periodically to keep it running smoothly: flush the tank roughly once a year. Flushing your water heater is a simple service that you can do yourself right in your own home with a few supplies you likely already have. In this blog, our Bartlett plumbers explain how.
Don't want to DIY? Use our convenient online form to contact Smith's Plumbing, Heating & Air!
Things You’ll Need
Flushing your water heater is a piece of cake. First, you’ll need a garden hose. It doesn’t have to be anything fancy, but it would be a good idea for the hose to be leak-free and long enough to span the stretch between your water heater and your nearest drainage location (such as a yard drain or even your gutter outside). If you don’t have a hose that will go far enough, bring a large bucket with you that you can carry outside when it fills with water. You’ll want to make sure you have a small bucket anyway to ensure that your water is clean when the draining is done.
If your water heater is located in your basement, then you may want to invest in a water pump that can send the water from your tank up to the ground floor quickly and easily, rather than forcing you to take trip after trip after trip up and down your stairs in order to empty your bucket out.
Finally, you may or may not need a wrench to open or close different valves or knobs throughout the job if they’re a little tough to do by hand. However, if your knobs all turn easily and you can do it by hand, you won’t need the wrench at all.
Preparation Steps
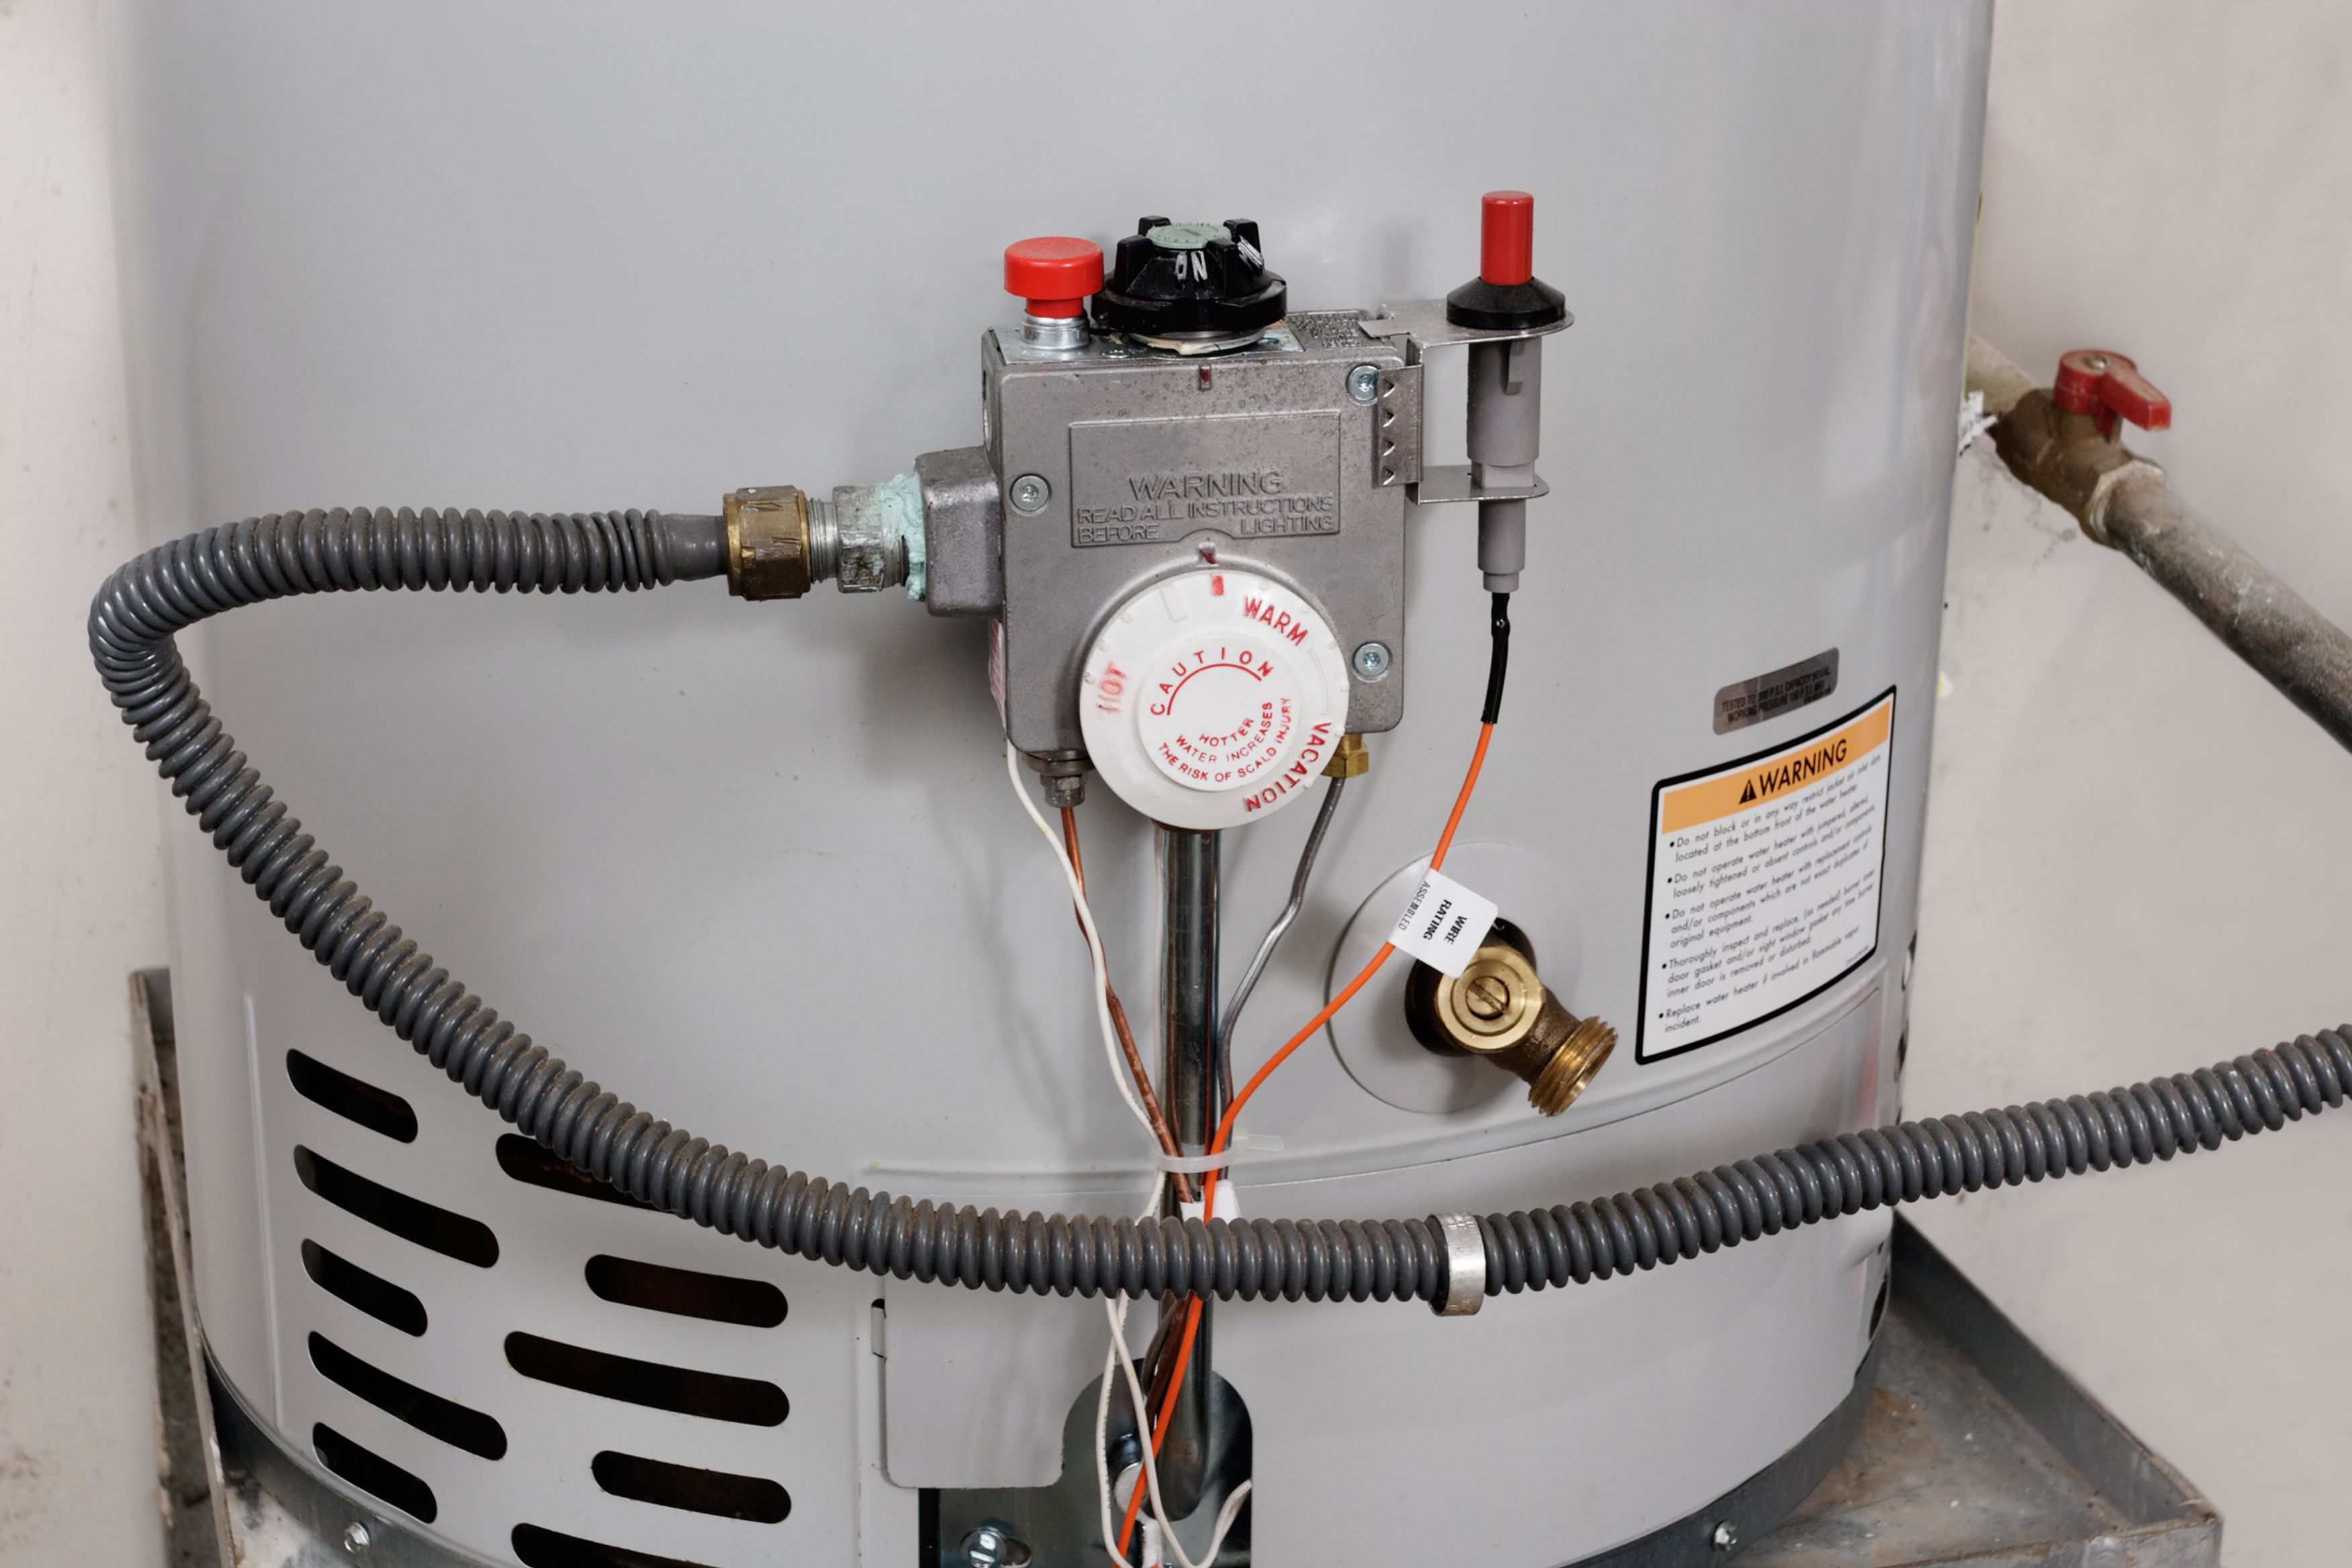
First, you’ll want to turn off the heat source on your water heater. If you have a gas tank, turn the temperature on your thermostat down to “pilot.” On an electric heater, turn the thermostat down to “off.” Now comes the longest part of the process: waiting. You’ll need to wait several hours for the water in your heater to cool to the point where you can reasonably handle it. When water comes out of your heater, it’s going to be extremely hot, and you don’t want to try to have to handle it in that state. Give your heater a few hours to cool down and you should be able to continue without worry.
Next, shut off the cold water supply to your tank. This is usually a tap near the top of your hot water heater where cold water from your home’s supply is fed into your tank and brought up to temperature. Finally, you’ll want to make sure you can eliminate any vacuums that may form in your hot water line during the process, so turn on one of your hot water taps somewhere in your home. A sink or tub should be fine, but make sure it’s only a hot water tap.
Draining the Tank
We’re ready to go! Connect your garden hose to the drain spigot, usually located toward the bottom of your tank. You can recognize it because it has threads that a garden hose will easily connect to, and it has a knob on the top that looks like it’ll turn on. Run this hose out to your nearest drainage location, such as a yard landscape drain or even down to your gutter if possible. Whatever you do, don’t let it simply drain into your yard or lawn, as the draining water can cause damage to your yard, or even foundation damage if it’s released too close to your home.
Twist open the drain valve on your tank and water should start to flow through your garden hose. At first, this water will most likely have a brown-colored tint to it, especially if it’s been quite some time since you flushed your heater. This brown color comes from the sediment that was trapped at the bottom of your tank.
Continue to allow the tank to drain until the water coming out is clear and no longer has any sediment particles floating in it. Once the water starts to run clear, turn on the cold water tap feeding your water heater and let it continue to drain through. This allows any sediment that may not have been flushed out initially to be pushed out through your valve and out the garden hose. Use a small bucket to collect a good chunk of the water coming out and see if there are any sediment particles floating in it.
Once this sediment disappears, you’re all flushed and good to go. Close the drainage spigot on your water heater and disconnect your garden hose. Turn off the tap in your sink or tub which was turned on in order to eliminate vacuums. Finally, let your tank finish filling up. The last step: briefly open your pressure relief valve to let off any of the excess air that may have accumulated in your tank over the process before turning the thermostat back to your desired temperature. Before long, you should have fresh, clean hot water again!
If you’ve got a problem with your hot water heater, call Smith's Plumbing, Heating & Air at (901) 290-1110 today!

.jpg.2603310916285.webp)